MTU Queue to Sidecar Alignment
- Make sure the Panther System is powered off.
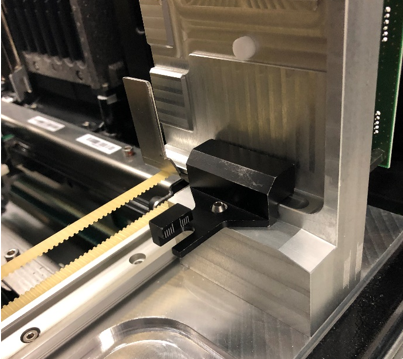
 Insert the black MTUMulti-tube unit—Container used to process tests in the instrument. An MTU contains five separate reaction tubes. The MTU is moved through the instrument by the linear distributor and includes five tiplets for pipettiing to be used in the mag wash station. Queue Teach Tool into the MTU Queue.
- Raise the scissor lift to be level with the MTU Queue.
- Swing the carrier platform into the MTU Queue.
- Slightly lift the carrier platform so that the alignment pin is in the MTU Queue teach tool.
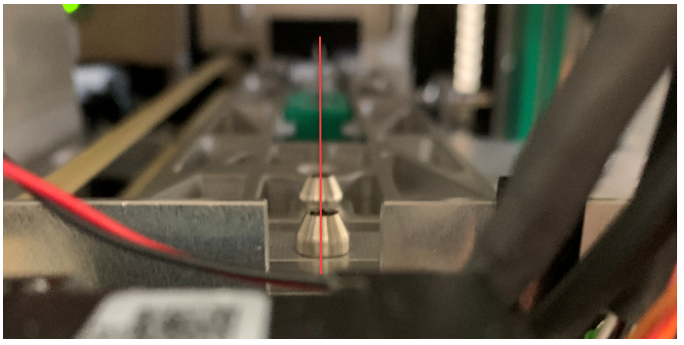
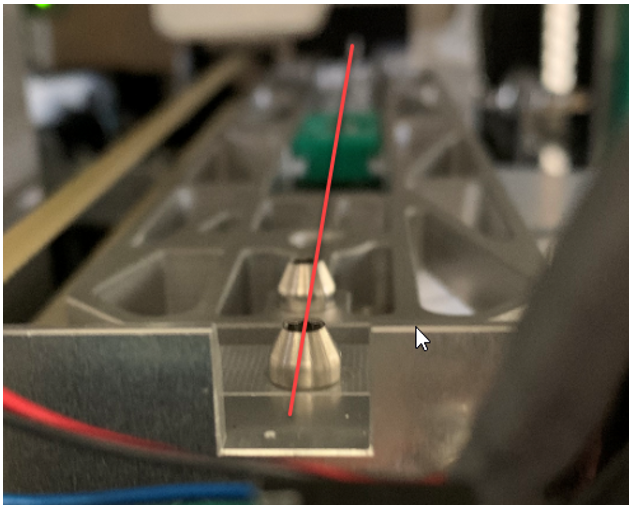
- Verify all four pins are in a line as shown in the image below.
- If the front pin on the scissor is to the left of the MTU Queue front pin, install shims as necessary between the front of the Panther and sidecar.
- If the rear pin on the scissor is to the left of the MTU Queue rear pin, install shims as necessary between the rear of the sidecar and Panther.
- Once shims are in place repeat as needed until the MTU Queue and carrier platform are aligned.
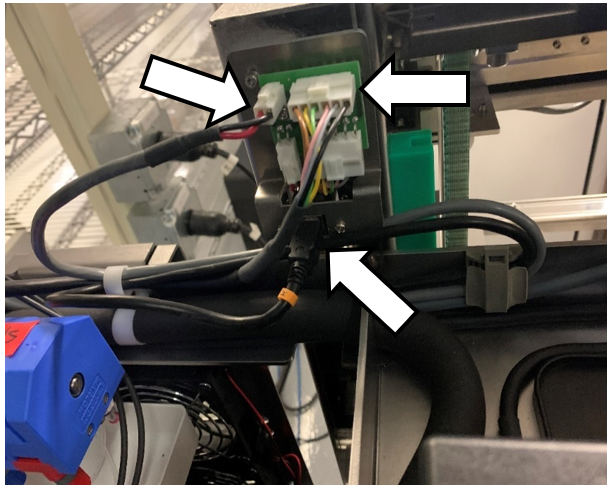
- Connect the CAN cable, USB cable and USB hub power cable to the board on the MTU Sidecar.
- Run Instrument Setup (Firmware)
- Power on the system and PC.
- Run Instrument Setup (Loading Firmware)
- Select all necessary instrument configurations when running Instrument Setup.
- Continue to MTU Expansion Autoteach
 button at the top of the page to send feedback, comments, or change requests.